Quick Start with Shellit
Welcome to Shellit — an independent, cross-platform SSH & SFTP client engineered for developers and DevOps professionals who value privacy, control, and ergonomic efficiency.
1. First Launch & Vault Creation
Upon launching Shellit for the first time, you will be prompted to set a Master Password for your local encrypted vault:
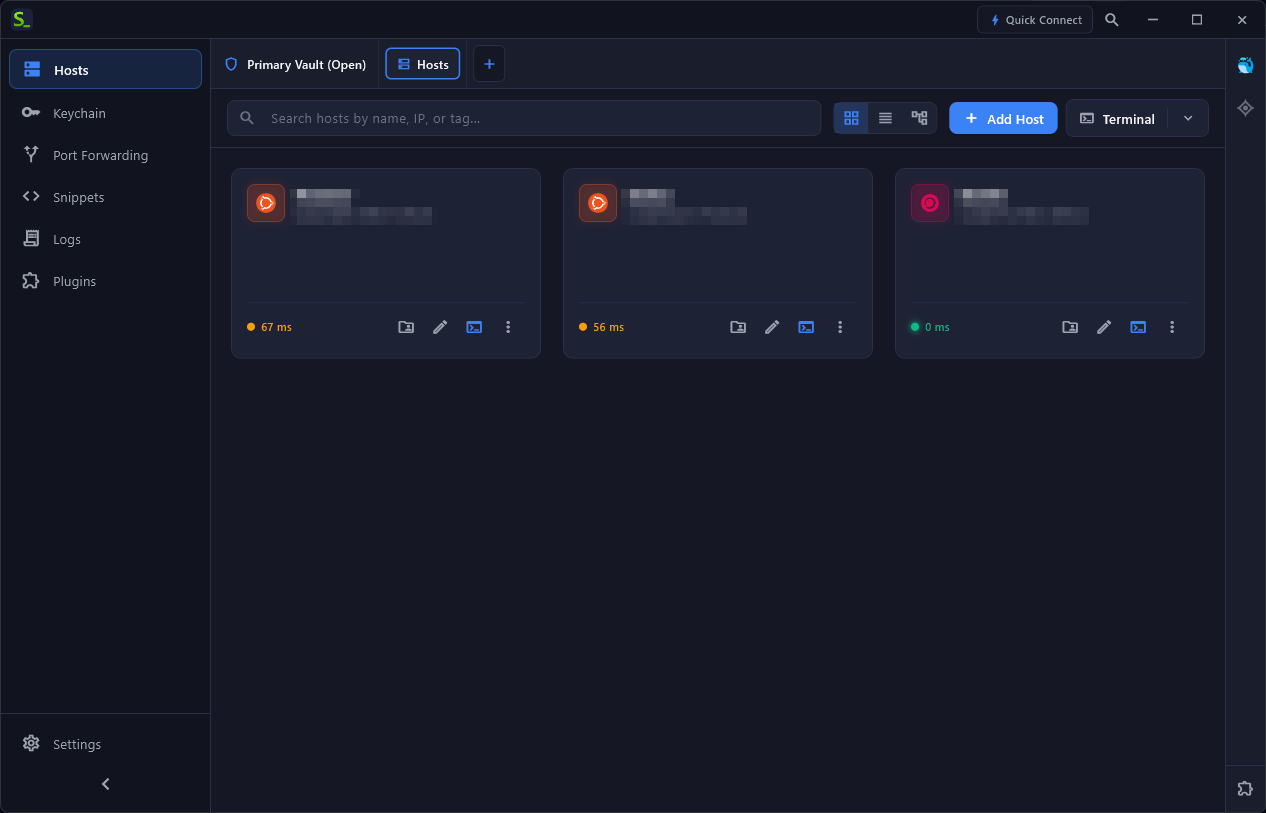
2. Adding Your First Remote Host
- Click the “New Host” button in the top navigation bar or press
Ctrl+N(Cmd+N). - Fill in the connection parameters:
- Label: e.g.,
prod-k8s-master - Host / IP:
65.108.57.255 - Port: Default
22 - Username:
rootor your system username - Authentication: Select a private SSH key from your Vault or enter a password.
- Label: e.g.,
- Select an Environment:
PROD— Activates Prod Guard destructive command protection;STAGE— Staging / testing server;DEV— Local development environment.
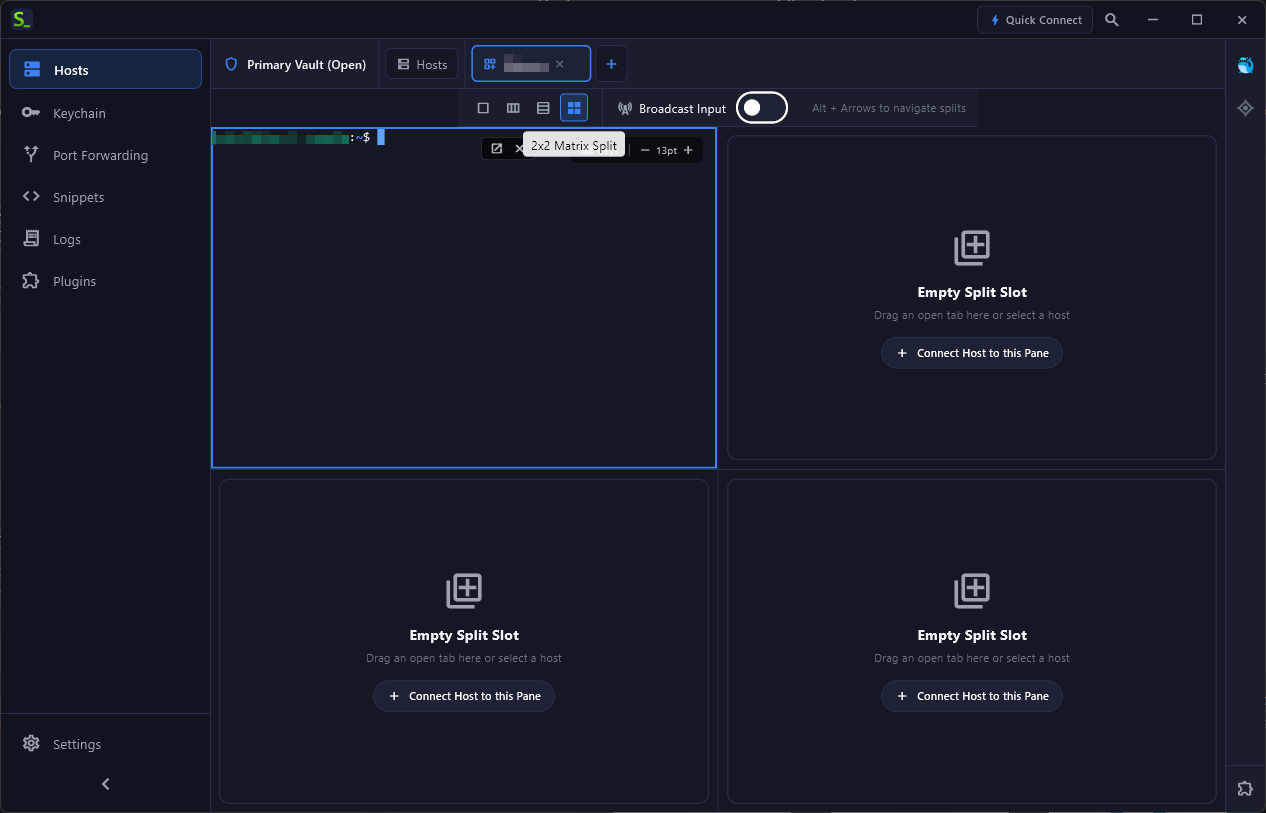
3. Matrix Tiling Splits (2x2) & Broadcast Input
Inside any active terminal tab, you can split your screen into dynamic matrix panes:
Ctrl+Shift+D— Split vertically;Ctrl+Shift+E— Split horizontally;Ctrl+Shift+B— Toggle Broadcast Input (simultaneously transmit keystrokes to all visible panels).
4. Omni-Bar Command Palette (Ctrl+K)
Press Ctrl+K to open the Raycast-style command palette. You can instantly filter servers by label, tags, or IP address, launch saved command snippets, toggle themes, or switch split layouts completely hands-free.
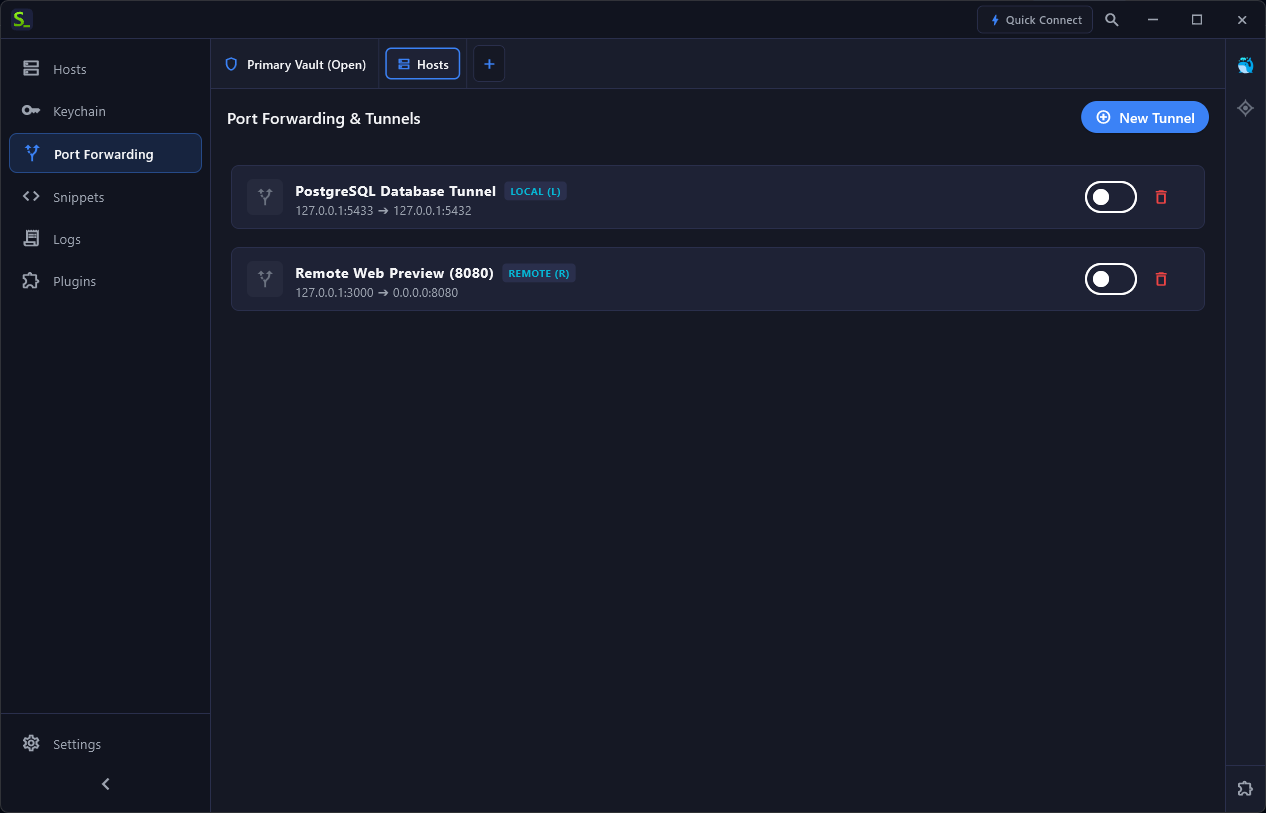
5. Port Forwarding & SSH Tunnels
Shellit includes a visual builder for local (-L), remote (-R), and dynamic SOCKS5 (-D) port forwarding tunnels: