
Creating Plugins (.shellit)
Shellit Desktop features an extensible architecture allowing developers to build custom panels, server dashboards, and tools packaged as .shellit zip archives. Plugins execute within a sandboxed WebView2 (Windows) or WebKit (Linux) environment with a secure, permissioned bidirectional IPC bridge to the core engine.
Plugin Package Structure
A .shellit package is a standard ZIP archive containing:
my_plugin.shellit (ZIP)├── manifest.json # Plugin metadata and permission declarations├── index.html # Main HTML entry point├── dist/│ └── bundle.js # Bundled JS application code (React, Vue, or vanilla)└── assets/ └── icon.svg # 64x64 SVG icon displayed in the plugin managerThe manifest.json Specification
{ "id": "dev.custom.cluster-monitor", "name": "Cluster Monitor", "version": "1.0.0", "author": "Dev Community", "description": "Visual dashboard of cluster nodes, CPU, and RAM utilization", "entry": "index.html", "permissions": [ "terminal:read", "terminal:write", "hosts:read", "sftp:read" ]}Installing & Testing Plugins
- In development, drop your unpacked directory or
.shellitarchive into your local plugins directory:- Windows:
%APPDATA%\Shellit\plugins\ - Linux:
~/.config/shellit/plugins/
- Windows:
- Open Shellit and navigate to the Plugin Manager to enable your plugin.
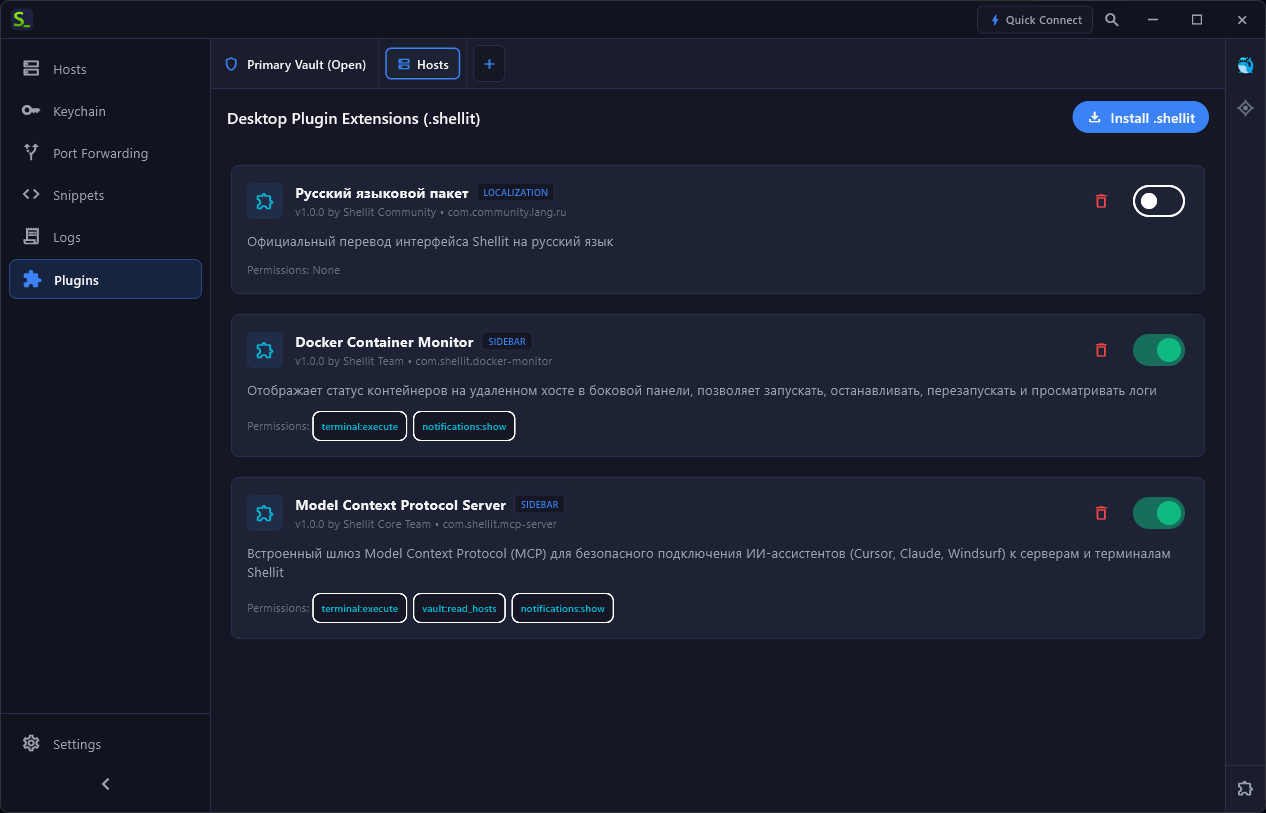
When loading a plugin, Shellit validates the cryptographic checksum and prompts the user to grant declared permissions (ssh:connect, terminal:write, sftp:read).